Unusual Containers
|
Introduction In this lesson, we are going to make two unusual containers, one with a hexagonal bottom, and one with a square bottom. (JAVA Animations: hexagonal bottom, square bottom) You will need one piece of poster board (11 inches by 14 inches) -- it is enough for two containers; scissors, compass, ruler, pencil, and glue or a stapler. Paper clips help to hold the containers together while the glue is drying. Activity 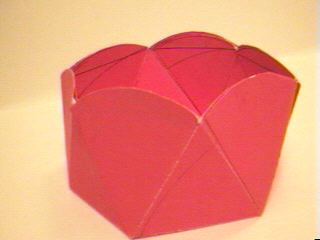 Hexagonal Bottom
Container
[top] Hexagonal Bottom
Container
[top]
1. Choose a radius. (7.5 cm is a good choice, but others are also fine.) 2. Draw a circle with your chosen radius. 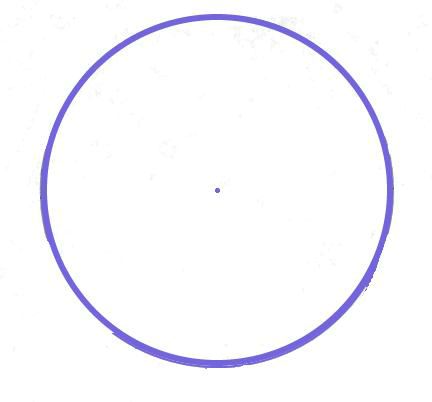
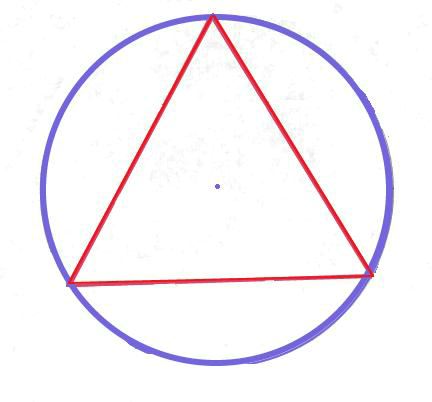
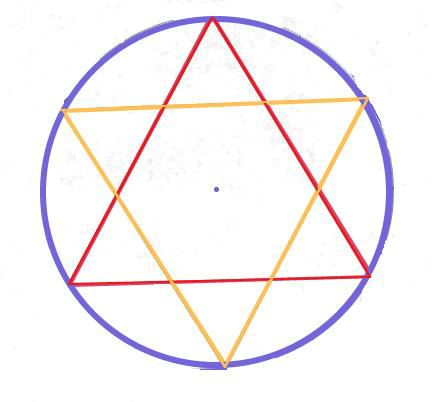
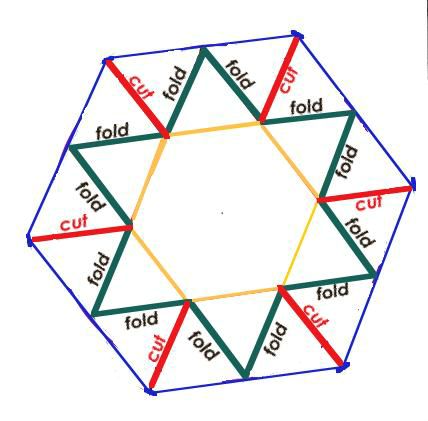
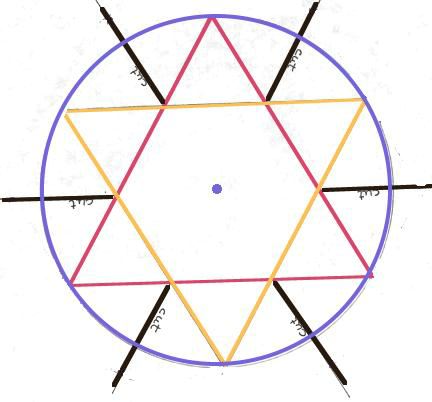 4. From the circle's center, draw six straight lines which will be cut with scissors. The lines begin at the vertices of the inner hexagon, and extend out beyond the circle. 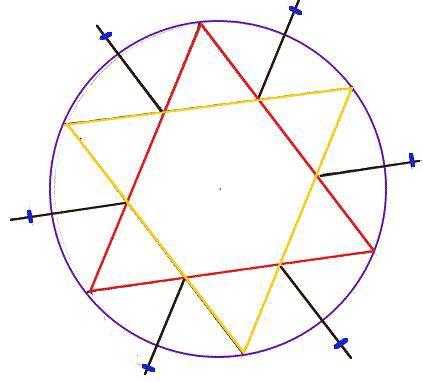 5. Set your compass to the length from the center of the circle
to a vertex of the inner hexagon. (Check this length with other
measurements.) Place your compass point on a vertex of the inner
hexagon, and swing an arc that that intersects the straight line that
you are planning to cut (the line you are planning to cut is shown in
black in the figure). Do this for all six vertices.
5. Set your compass to the length from the center of the circle
to a vertex of the inner hexagon. (Check this length with other
measurements.) Place your compass point on a vertex of the inner
hexagon, and swing an arc that that intersects the straight line that
you are planning to cut (the line you are planning to cut is shown in
black in the figure). Do this for all six vertices.
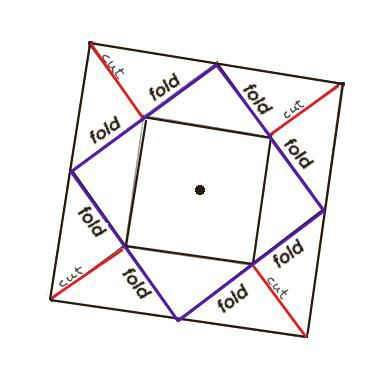
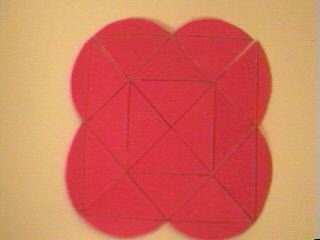
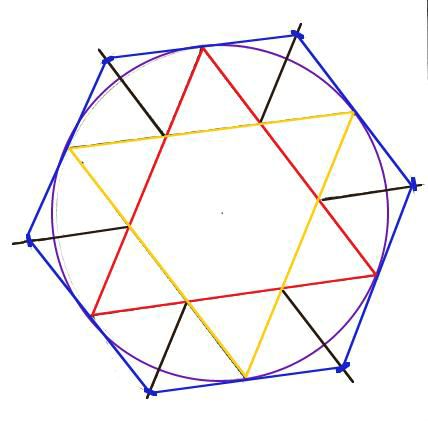 6. Draw an outer hexagon (each edge goes through three points on your drawing: the two points on the black cut lines that you made with your arcs, and the point tangent to the circle). 7. If you want, add rounded edges on the six sides of the outer hexagon. 8. Score along all edges that will be folded and cut. (See diagram which shows you which edges are folded and which edges are cut.) 9. Cut out your drawing and cut along the labelled lines. Follow the steps below to construct your unusual container. Note that this example is a unusual container with curved edges. (Click on the image to cycle through the steps.)
10. Glue or staple your container together. If you use glue, paper clip the glued sides together until the glue dries. If you make rounded edges, they can be folded for a nice effect. 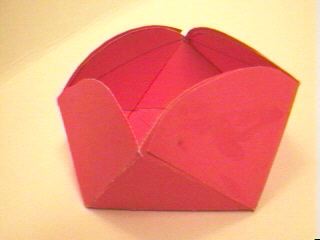 Square
Bottom Container
[top] Square
Bottom Container
[top]
1. Choose a radius and draw a circle on your remaining scrap of poster board. (Make the circle as big as you can!) 2. Draw a diameter. Use an index card to make a perpendicular to the diameter through the circle's center, so you have four ticks equally spaced along the edge of the circle. 3. Connect the tick marks to form a square. 4. Find the midpoints of the sides of the square (using a compass or a ruler). 5. Connect these midpoints, drawing a second square inside the first one. 6. Make ticks at the midpoints of the edges of the second square, and make a third inner square by connecting them. 7. Draw four lines that you will cut, along the diagonal of the biggest square (see diagram). 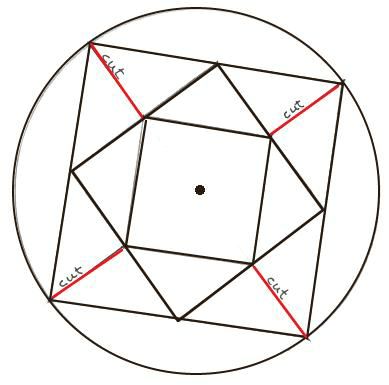
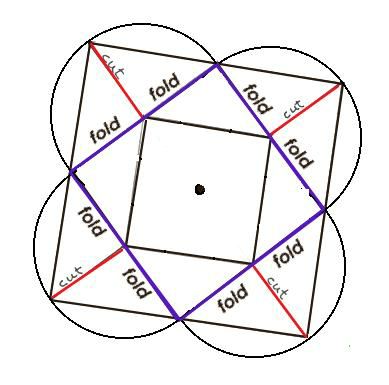
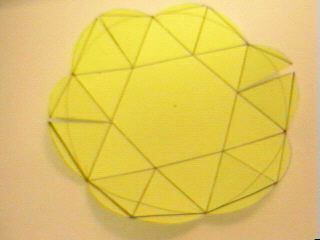
10. Cut out your drawing and glue it together. Follow the steps shown below to construct your unusual container. Note that the edges of this container are rounded. (Click on the image to cycle through the steps.)
Lesson Index |