Magic Folding Cube


Note: Information about this cube is well known. Our contribution is to give a step-by-step procedure for building it, which has been taught to young children. The supplies needed and the instructions are given below.

The "magic" folding cube is made up of 8 single cubes. When you buy a folding cube from a store, it is usually a picture cube. The faces show nine different pictures, six outside and three inside. Here is a store-bought model which has pictures of works of art by Van Gogh.


A description of the cube

The magic cube consists of eight smaller individual cubes. Each one has six faces, so altogether there are 48 small faces. When the cube is folded, 24 small faces can be seen, and 24 are hidden. You can design your cube so that 24 small faces are their natural wood color, 8 are pink, 8 are green, and 8 are yellow (see below). You can fold the cube so that the colored faces cannot be seen because they are inside! You can also produce three rectangles (of three different colors) consisting of eight small faces each, as in the pictures below, by folding. The cube has eight hinges that are arranged as in the diagram below.


Step-by-step instructions for building the cube


Supplies

             
Each person needs 8 cubic inch wooden blocks, 2-inch wide Scotch (or other) packaging tape, 24 colored dots, for example, 8 pink, 8 green, and 8 yellow; a marker; and patience!


Before you start, cut sixteen one-inch-wide strips of packaging tape. Stick them lightly along the edge of a table so they are ready to use. (These one-inch by two-inch strips will exactly cover the faces of two cubic inch blocks, creating a hinge.)


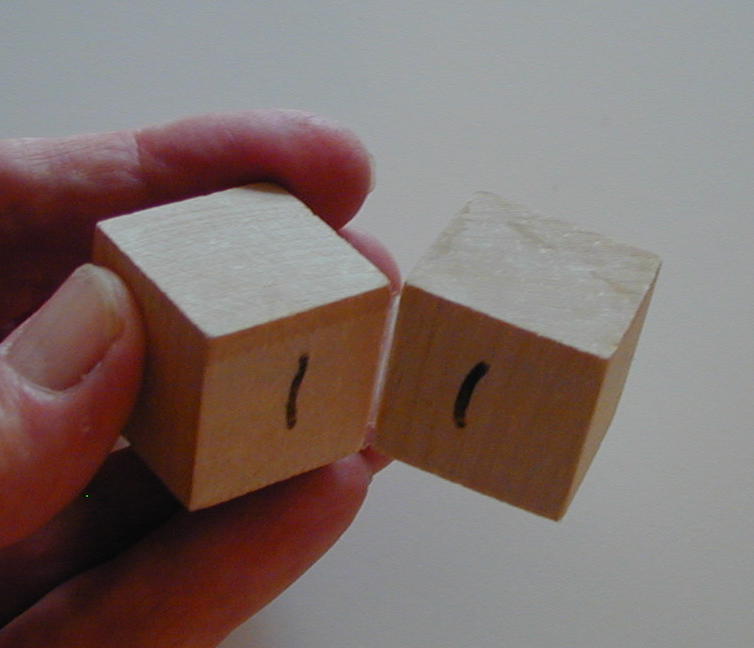
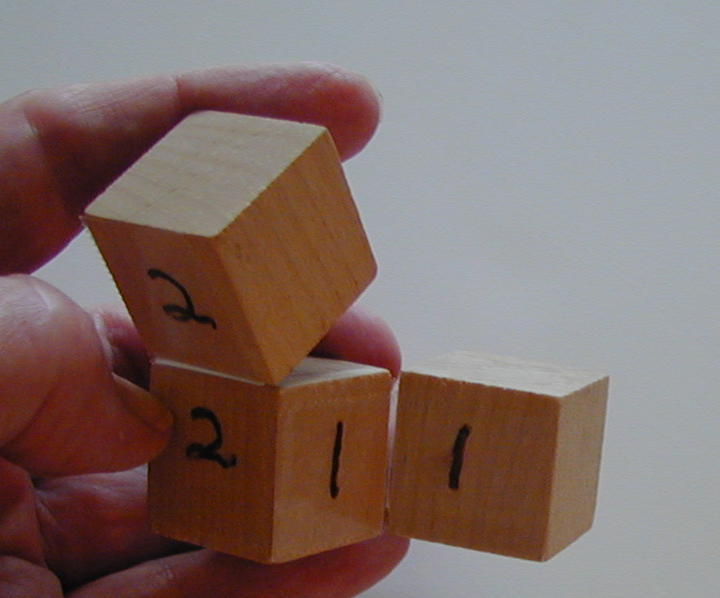
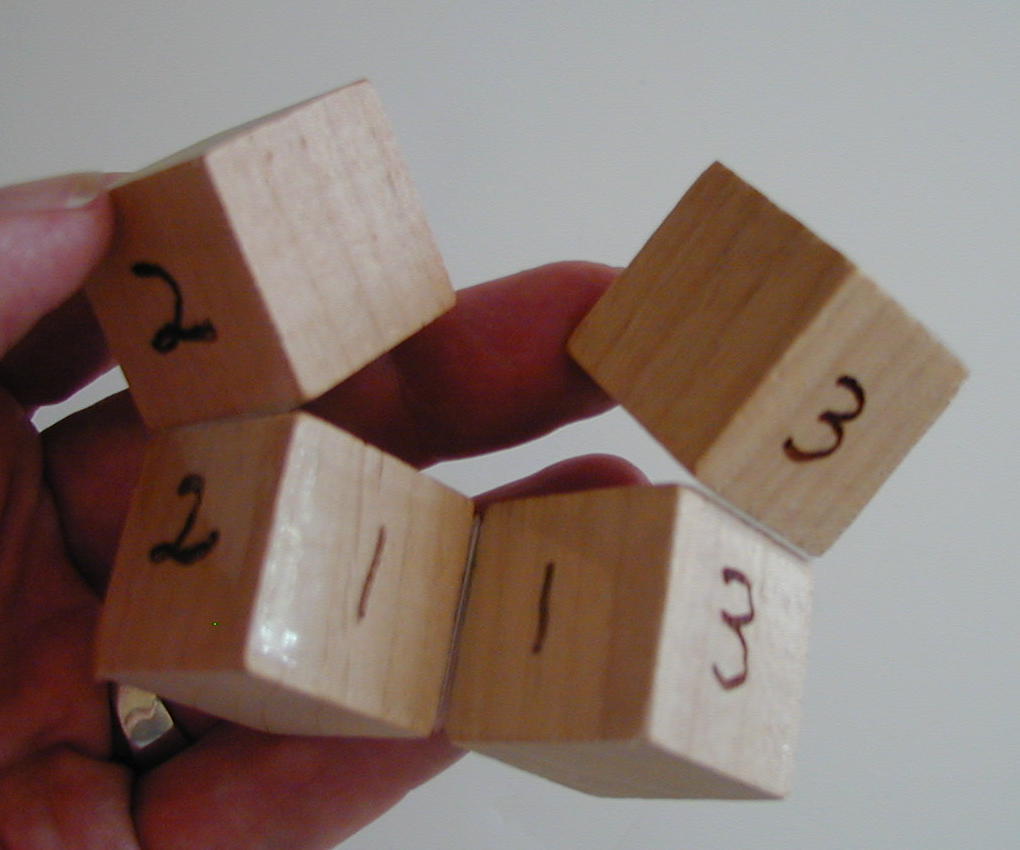
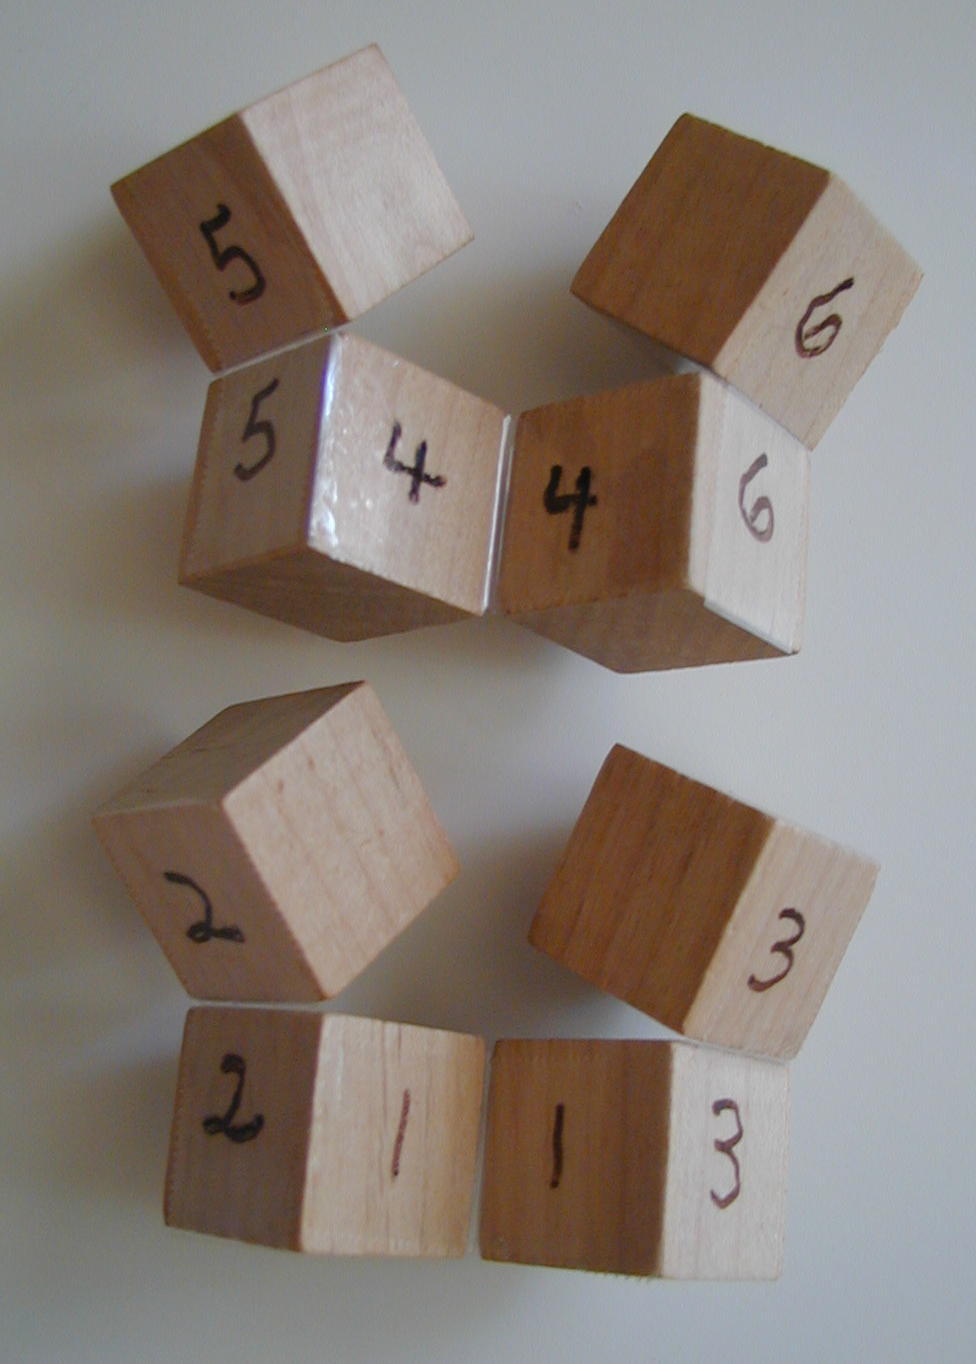
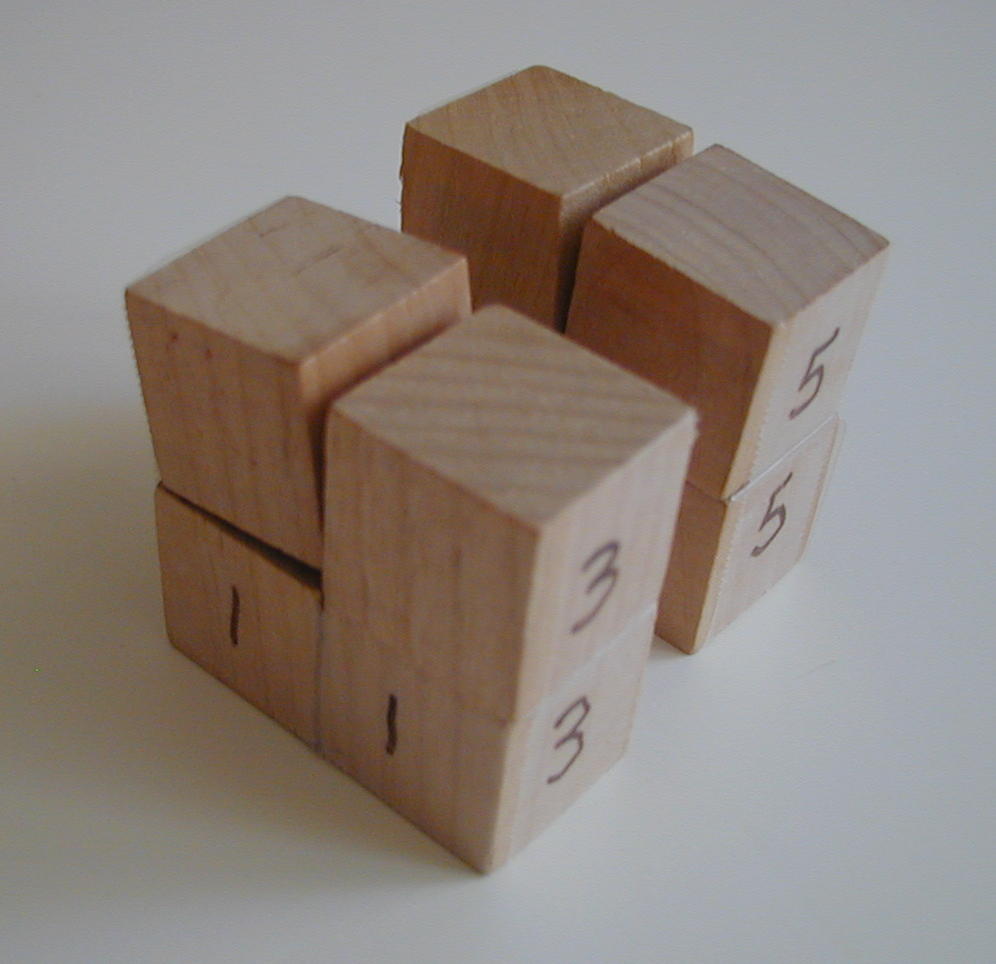
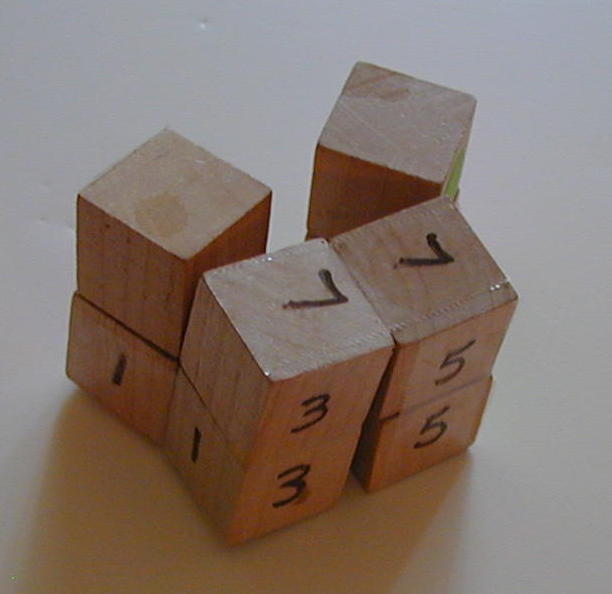
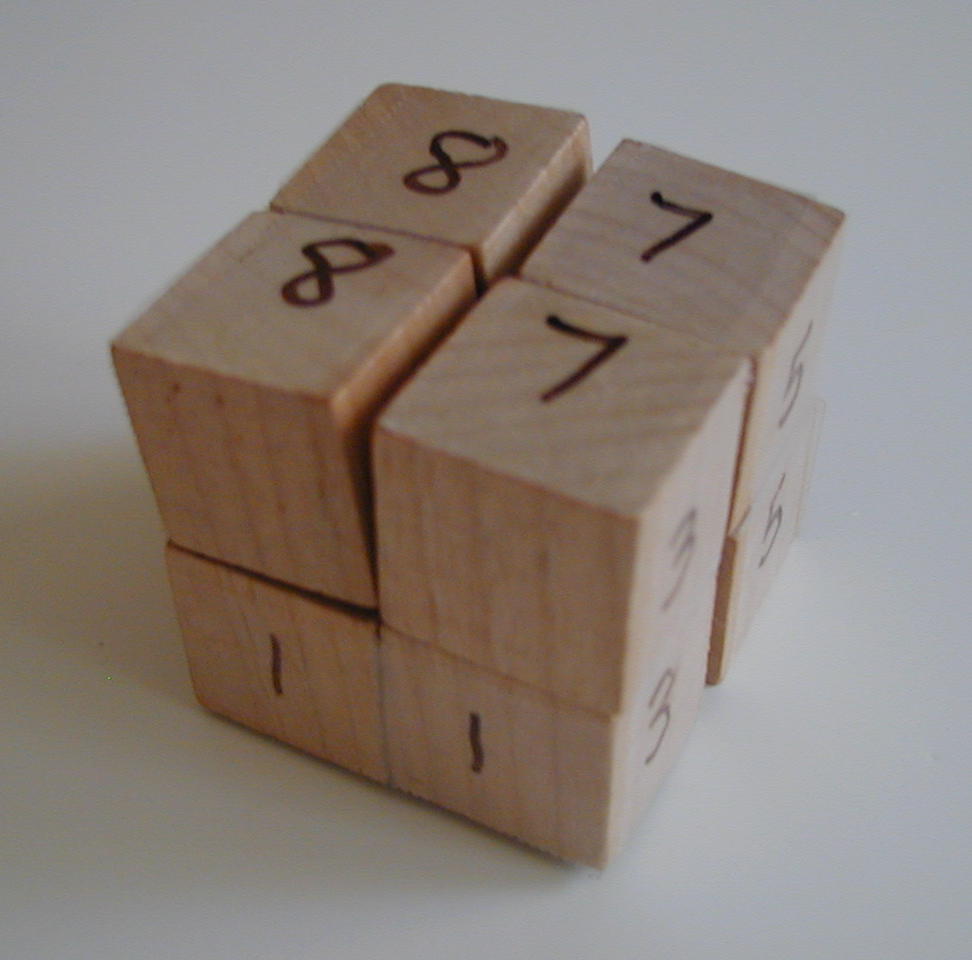
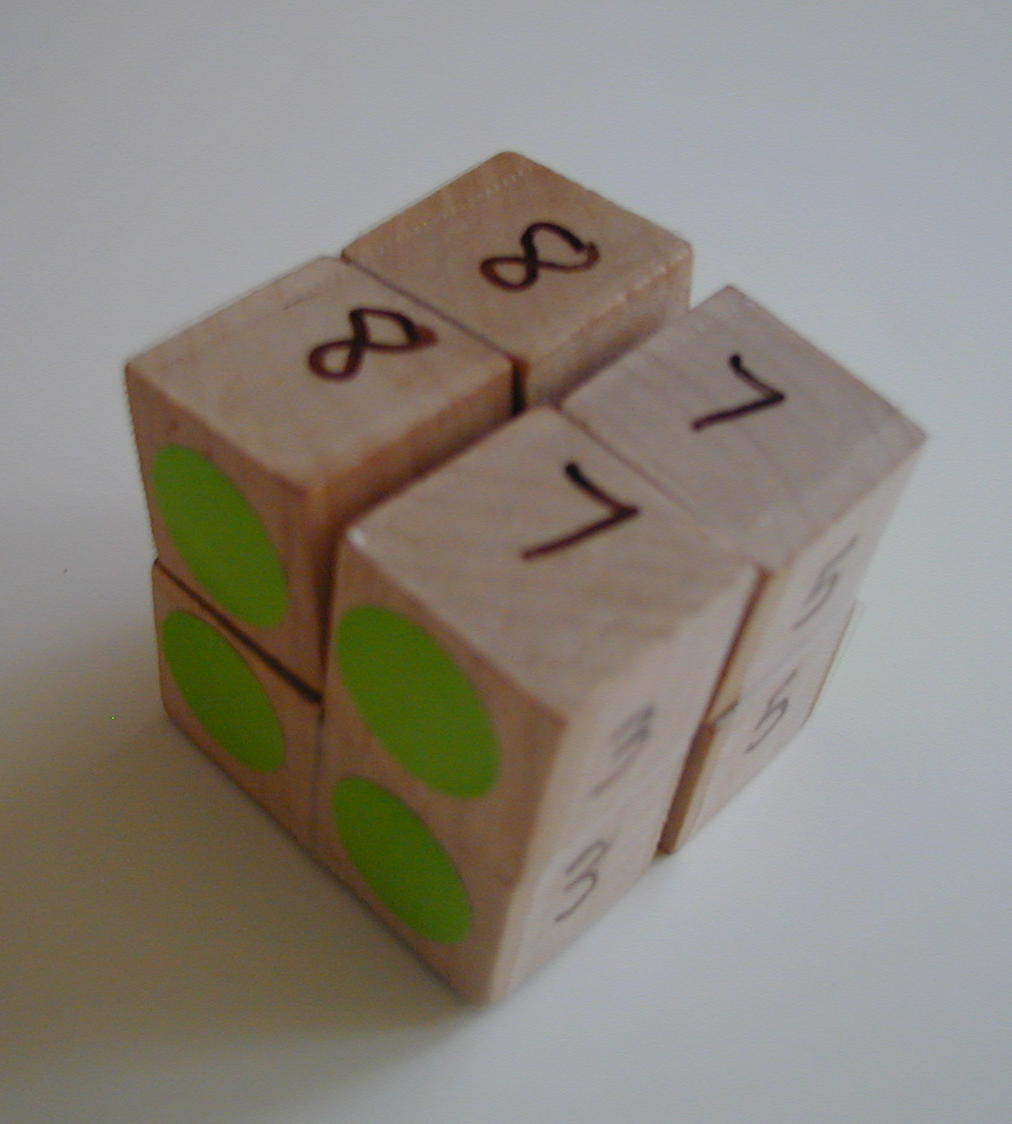
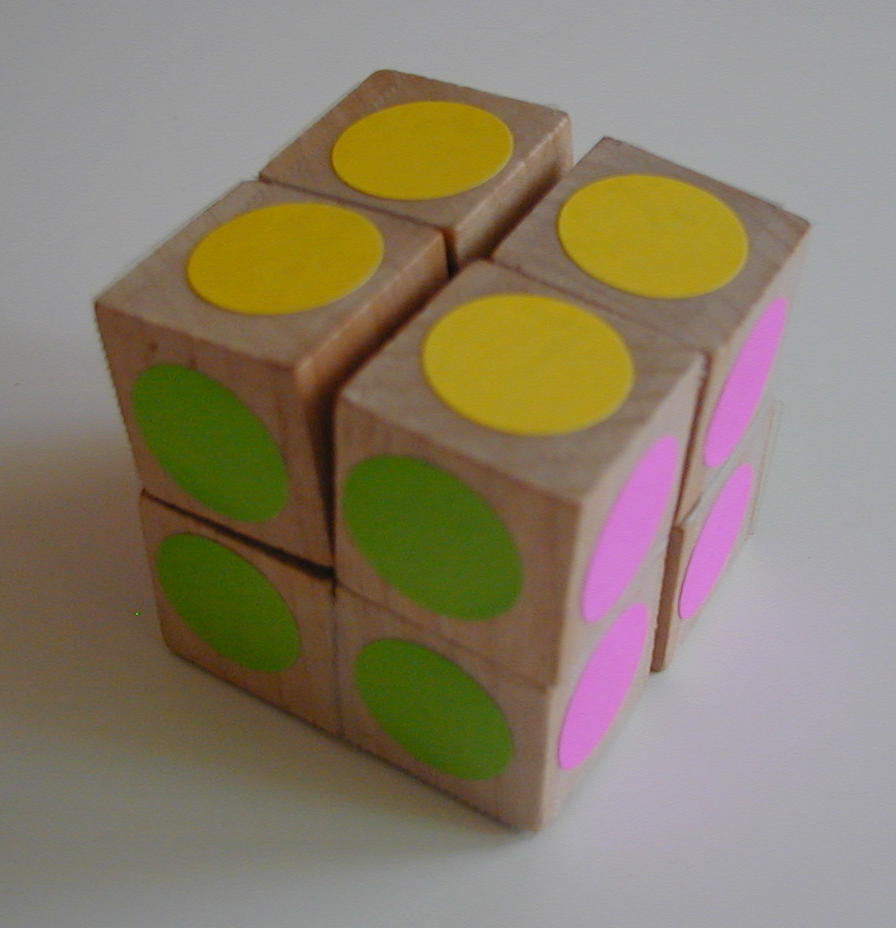
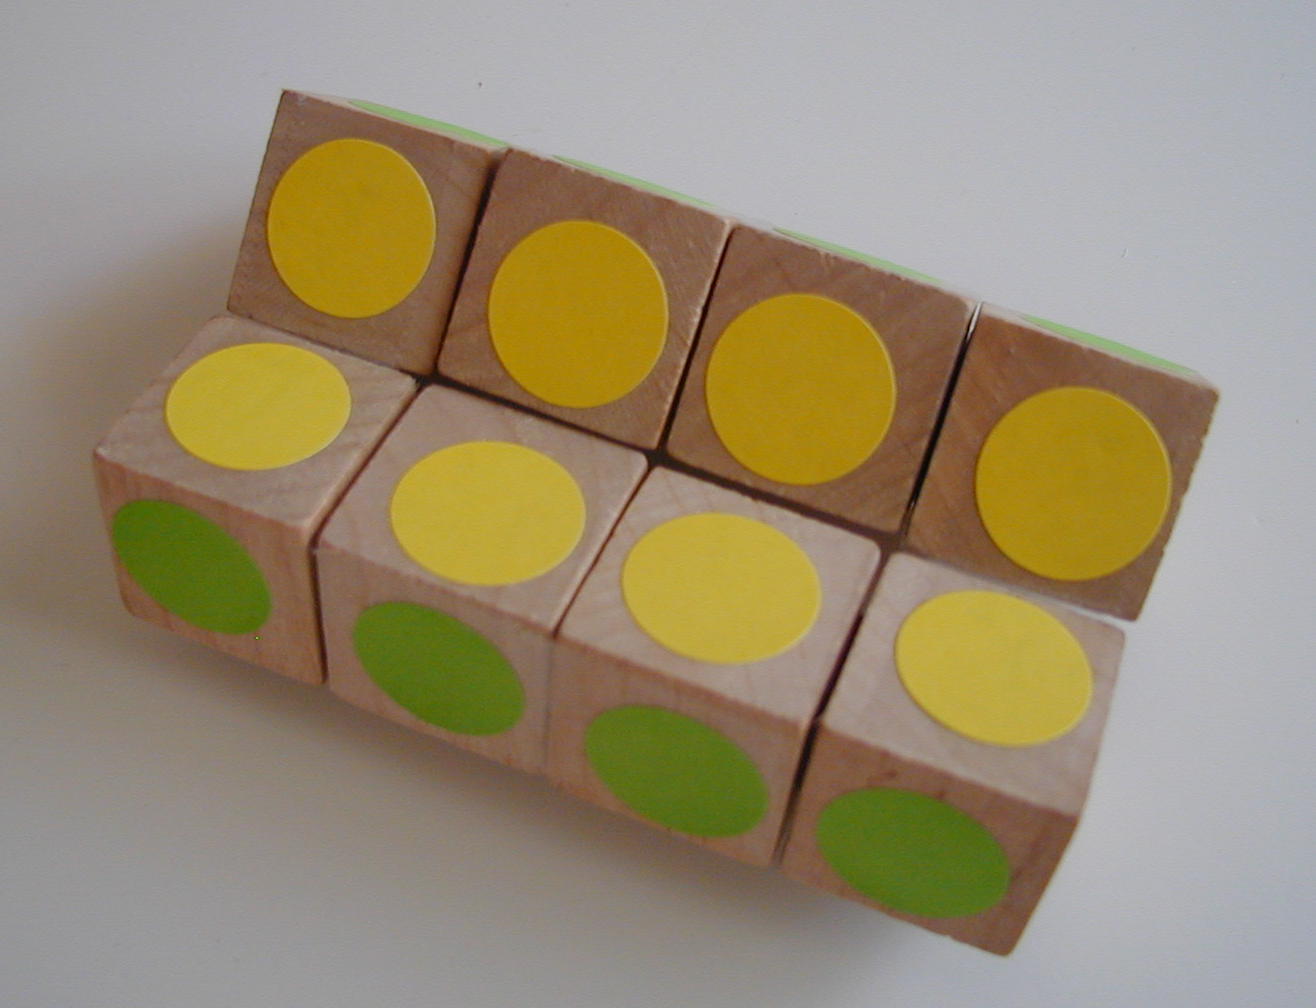
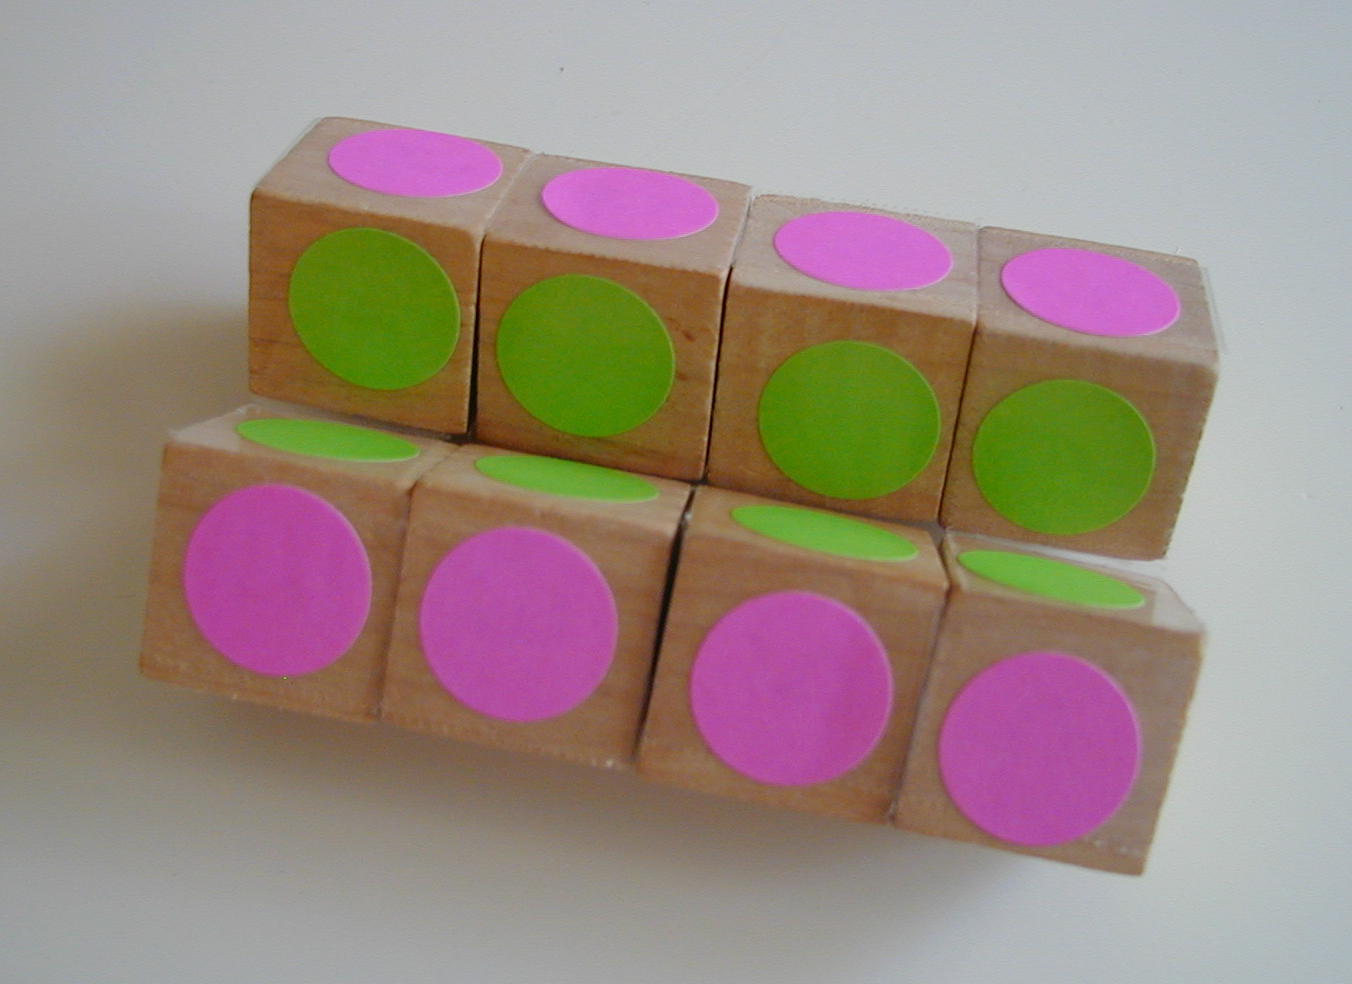
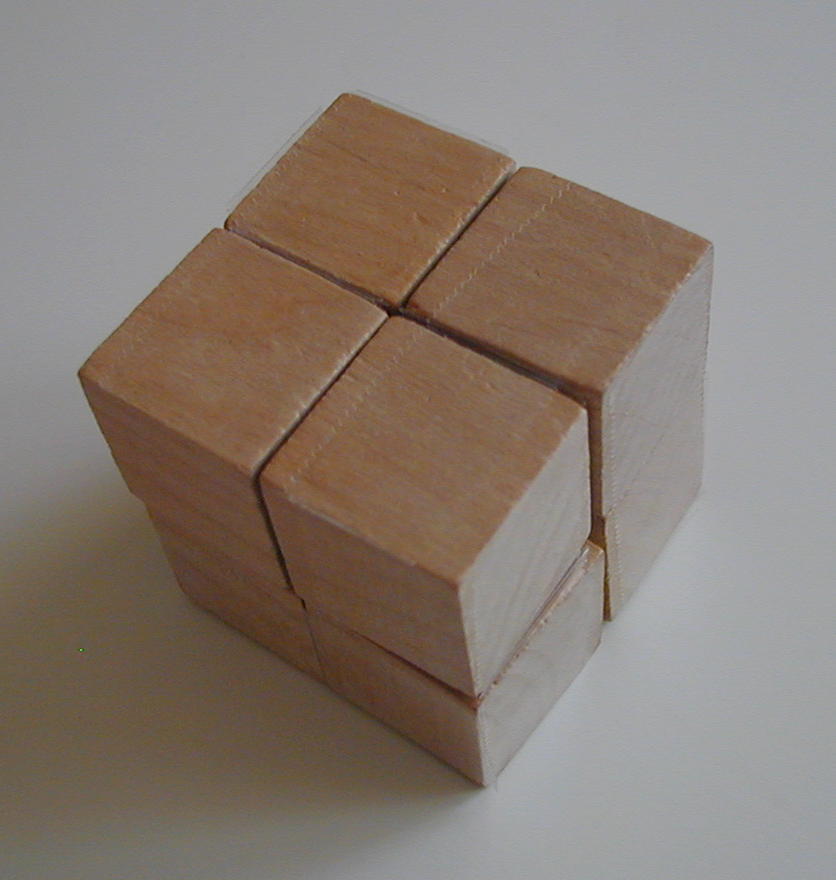
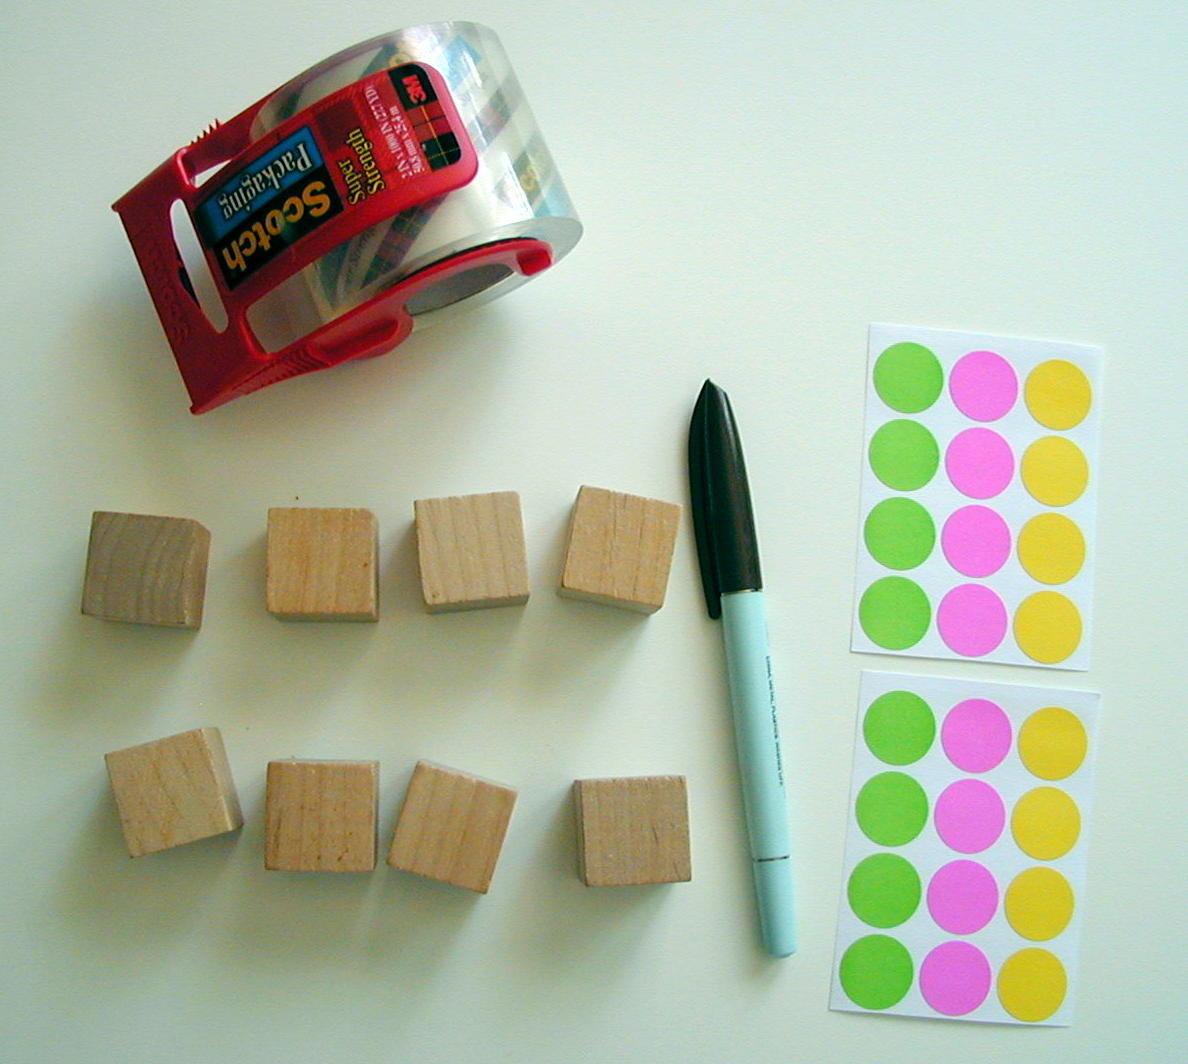
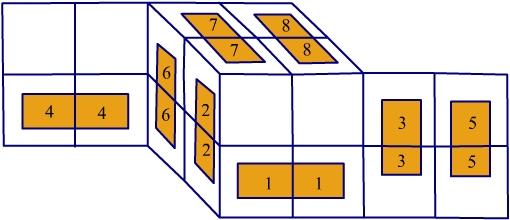
                 Before building the folding cube, first study the positions of the eight hinges. You join eight equal cubes (cubic inch blocks) with eight pieces of packaging tape (shown here in orange), exactly as shown in the diagram. Do you see that there will be eight hinges?

Each hinge needs to be reinforced. You do this by using two pieces of tape for each hinge, placing the second piece on the side opposite to the first piece. So you actually use 16 pieces of tape. (Click here to see how the first three reinforced hinges are made.) This makes a folding cube that is quite durable and fun to play with.


We have numbered the hinges one through eight in the picture above, and the ones below.

Step 1.  Join two blocks with a piece of tape. Reinforce the hinge by using tape on both sides. Label the hinge 1.
             

Step 2. Place a block on the left top of your construction, and make hinge 2. Be sure to reinforce the hinge on two sides. Label the hinge.
             

Step 3. Place a block on the right top of your construction, and make hinge 3. Reinforce it, and label it, as shown:
             

Step 4. Using four more cubes, make three more hinges, numbered 4, 5, and 6, just like the first three. You will have two identical constructions consisting of four cubes each, as shown:
             

Step 5. Now you have two identical halves that are ready to be put together with two more hinges. Orient the two halves back to back, as shown:
             

Step 6. Make hinge 7 on the top as shown. Again, reinforce it, and number it.
             

Step 7. Finally, make hinge 8, also on the top, and reinforce and number it:
             

Step 8. Now you are ready to decorate your cube.
We used green dots to cover the front and back faces (with hinges 1 and 4), and pink dots to cover the left and right faces (with hinges 3, 5, 2, and 6):
             

Finally, we used yellow dots to cover the top and bottom faces (with hinges 7 and 8, and with no hinges):
             

Here are two configurations you can make:
                           

And of course you can turn it inside out and hide all the dots:


Now, if instead of dots, you want to cover the cube with pictures, you will need nine of them. Six should measure 2'' x 2'' and three should measure 2'' x 4''. You glue or tape the pictures onto the proper surfaces. (Study the pictures above to determine the correct placement.) You will need to cut apart the small faces with a knife. Cut only the edges where there are no hinges.


We thank Jürgen Köller for information from his website, http://www.mathematische-basteleien.de/magiccube.htm


Webpage Maintained by Owen Ramsey
Lesson Index