Easy Squares
|
Easy Squares |
|
The easiest way to draw a square.
Draw two perpendicular straight lines. (You may use an index card to draw the
perpendicular lines.) Put the point of your compass at the intersection of the
lines, and swing the compass to make four tick marks on the lines without changing
the radius. Connect these marks (points), and you have a square.
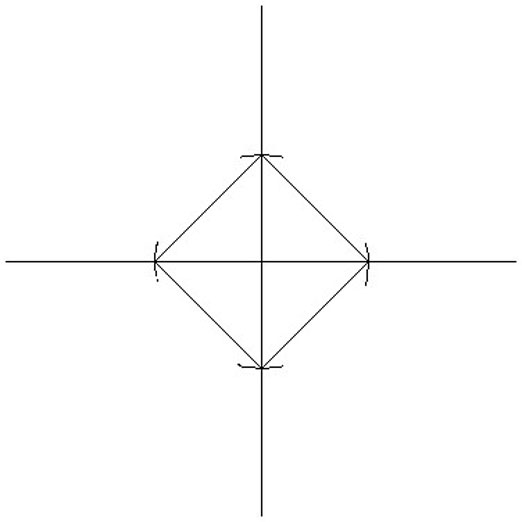
Figure 1
Size of the square.
If you choose a radius equal to r, then the side of the square is s = r*![]() 2.
2.
You can show this using the Pythagorean theorem:
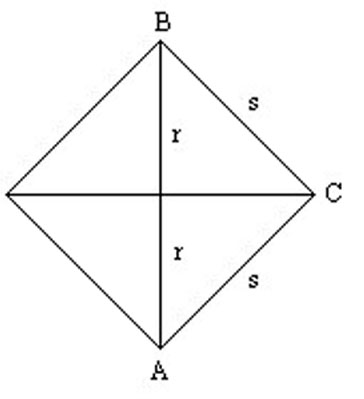
Figure 2
Triangle ABC is a right triangle, s2 + s2
= (r + r)2
2*s2 = (2*r)2
2*s2 = 4*r2
s2 = 2*r2
s = ![]() 2*r
= r*
2*r
= r*![]() 2
2
With a radius r, the diagonal of the square is d = 2*r,
and its area A = s*s = 2*r2.
Task for a class of n students.
Make a collection of 2*n squares from colored construction paper that have areas
A = 1, 2, 3, ... , and 2*n square inches. (Each student should make 2 squares,
but they may work in groups and help each other.) The collection can be displayed
later on a poster.
Solution.
For each area A = 1, 2, 3, 4, … square inches, compute the radius r =![]() (A/2),
with an accuracy of 1/32 of an inch.
(A/2),
with an accuracy of 1/32 of an inch.
The keystrokes are
[A][/][2[=][![]() ],
and write the whole part U that is showing on the display;
],
and write the whole part U that is showing on the display;
[-][U][*][32][=] and write the whole part V on the display, divided by 32.
The answer is r = U + V/32 inches.
Draw the square very precisely on construction paper, and cut it out. Write your name on it, and also write on it its area in square inches.
Remark.
Notice that for A = 2 square inches, r = 1, and for A = 8, r = 2.
Here is a table showing the radius r for each area A from 1 through 45 square inches. Students should compute the radius using the keystrokes above, and round to the nearest 1/32 of an inch.
| A = Area of square in square inches | r = radius of compass = |
| 1 |
23/32 inch |
| 2 |
1 inch |
| 3 |
1 7/32 |
| 4 |
1 13/32 |
| 5 | 1 19/32 |
| 6 |
1 23/32 |
| 7 |
1 28/32 |
| 8 |
2 |
| 9 |
2 4/32 |
| 10 | 2 6/32 |
| 11 | 2 11/32 |
| 12 | 2 14/32 |
| 13 | 2 18/32 |
| 14 | 2 21/32 |
| 15 | 2 24/32 |
| 16 |
2 27/32 |
| 17 |
2 29/32 |
| 18 |
3 |
| 19 |
3 3/32 |
| 20 | 3 5/32 |
| 21 | 3 1/4 |
| 22 | 3 5/16 |
| 23 | 3 13/32 |
| 24 | 3 15/32 |
| 25 | 3 17/32 |
| 26 |
3 19/32 |
| 27 |
3 11/16 |
| 28 |
3 3/4 |
| 29 |
3 13/16 |
| 30 | 3 7/8 |
| 31 | 3 15/16 |
| 32 | 4 |
| 33 | 4 1/16 |
| 34 | 4 1/8 |
| 35 | 4 3/16 |
| 36 |
4 1/4 |
| 37 |
4 5/16 |
| 38 |
4 11/32 |
| 39 |
4 13/32 |
| 40 | 4 15/32 |
| 41 |
4 17/32 |
| 42 |
4 19/32 |
| 43 |
4 20/32 |
| 44 |
4 22/32 |
| 45 | 4 24/32 |
Table 1
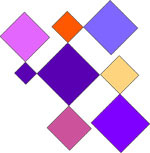
Children like to make designs with their squares. If you stack them up, you will see that the “border” created around a square by the next larger square, the “L” shape below, has an area of exactly one square inch. (Note that the sizes of the squares in the two illustrations, figures 3 and 4, that you see on your screen may be different from the actual sizes.)
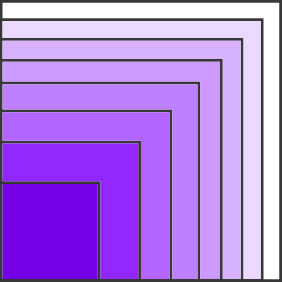 |
1 square inch |
Figure 3
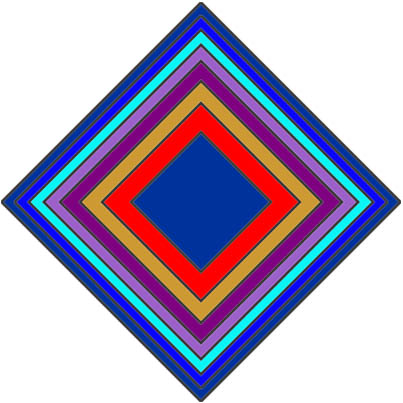
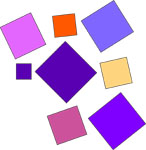
Figure 4
Above is another pattern you can make with your squares. Each area of a particular color measures one square inch!